How to Flip Your Classroom
Why we love this unconventional classroom tool, and the simple steps you can take to implement it.
When teachers “flip” their classrooms, they’re not rearranging the furniture or prepping it for resale at a higher price. They’re reversing the conventional order of instruction, essentially taking the traditional mode of giving instruction in the classroom and completing assignments at home — and swapping the two.
How it Works
In a flipped classroom, students access materials and view lectures at home (often with digital resources like podcasts or video), and time at school is spent devoted to assignments and projects building on that content. Instead of going over the lesson matter in class, the group uses information reviewed the night before to engage in deeper conversations and work.
Why it Works
Used well, flipping your classroom is a very effective tool. It upgrades a teacher from a content dispenser to a learning facilitator. It empowers students with the background knowledge they need to make higher-level connections and take ownership of their learning. And, perhaps best of all, it frees up valuable class time so that more challenging activities can be tackled — alongside the direct support of the teacher.
How to Do it
We’re head over heels for this strategy, but we also understand why trying out this unconventional instructional choice could cause trepidation for new and seasoned educators alike. Have no fear — we have your back with these bite-sized steps to flip your classroom.
- Start small. Think about the flip as just another tool in your toolbox — a particularly powerful one. For starters, pick one lesson or small unit that you feel would be a good fit for the strategy.
- Create an engaging at-home lesson. Next, decide how students will access the lesson’s content from home. If technology is a reliable resource, a video or podcast works great. You can create your own, or, depending on your content, you can find great recordings online.
- Share well. Whether you upload a video to YouTube or Vimeo (or find stellar online content created by someone else), make sure that you distribute the link reliably and appropriately. You could also directly post content to a class website.
- Use the honor system and ask students if they watched the content. Ha! Just kidding.
- Hold kids accountable. Worried students won’t actually review the content? Ask them to take handwritten notes on what they read or watched and have them show you first thing in class. Use the procedures you already have in place to address students who don’t complete homework.
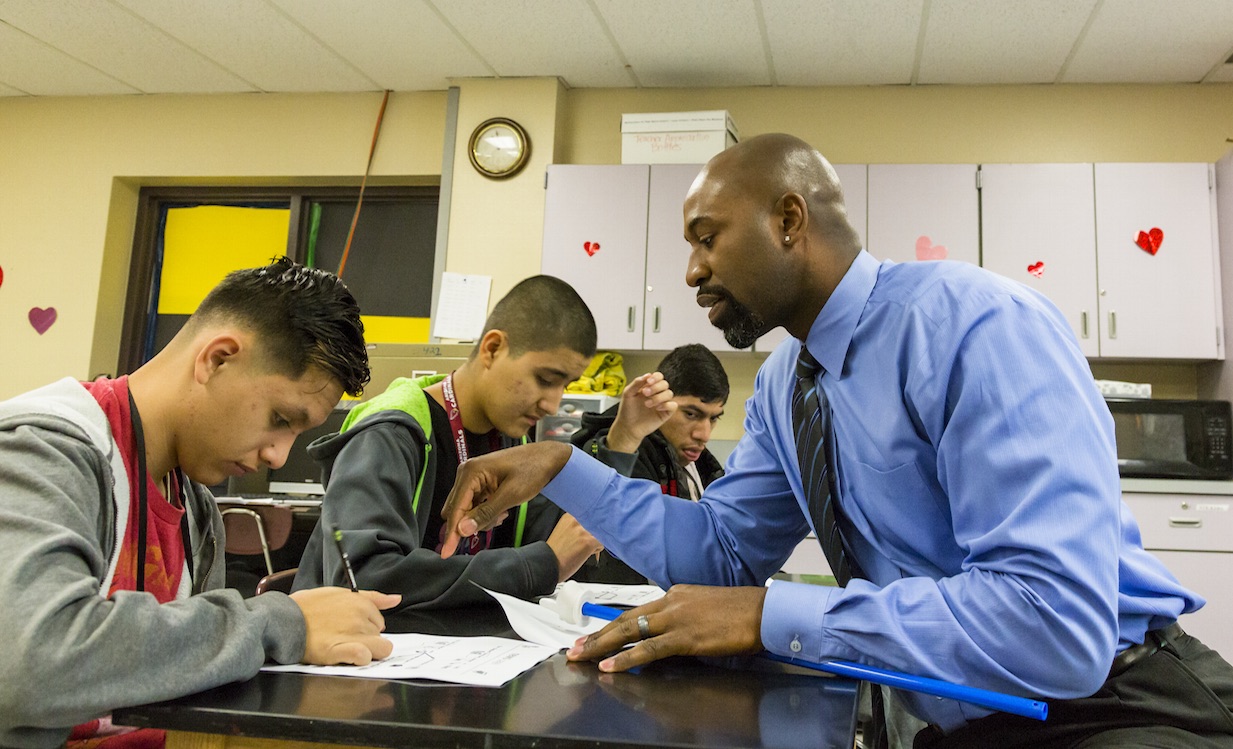
- Flip out. Now that you’ve freed up class time, it’s time to get creative. Engage with students one-on-one or in groups while they work — you have tons of options for building skills and challenging learners in a risk-safe environment.
Here’s the absolute best part of a flipped classroom: You are going to love watching your students shine as you work and practice along with them. While you’re busy building skills, you’ll also be shaping one mighty classroom community.
Ready for more? Here’s another handful of things to consider when flipping your teaching.
Think far ahead. We’re big fans of using videos where you are the star. You know your content, you know the end goals — and you have a special way of explaining concepts to your students. Work smarter, not harder; consider recording yourself teaching so that you can utilize the videos in a flipped lesson next year, or for other class sections. In the meantime, you can upload the lessons for absent students. So, grab a video camera or consider one of these other technologies…
If you are using a SMART Board or SMART Notebook, it probably has a digital recorder that can record your voice and anything you display on the board. (Find more tips on using this awesome tool here.)
You can also utilize screen recording software and share PowerPoints or whatever else on your computer strikes your teaching fancy. Check out free screencasting software like Screencast-o-Matic or Ezvid.
Make the week’s at-home content available in advance. This simple strategy is powerful when it comes to differentiating, hitting lots of birds with one stone. Advanced, at-home access allows students to gather background knowledge and digest it before grappling with it in class. More motivated or curious students are able to work ahead and own their learning paths. Parents can view content easily and have more buy-in with their children. It’s an all-around win.
Keep videos succinct. Depending on the concept, some at-home materials will be longer, but don’t get carried away. Ten minutes for elementary learners and under 30 for high schoolers seems about right.
Encourage students to rewind, pause, and review.
Have you flipped your classroom successfully? We’d love to hear more about your trip to the upside down!
